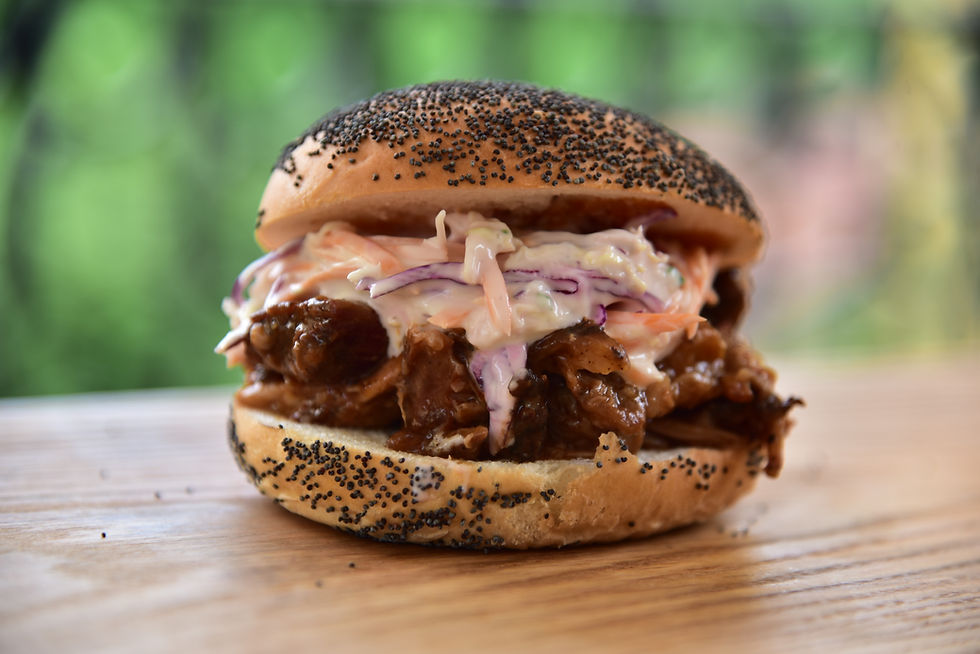
Chicken Poppyseed - The perfect Barbecue Chicken recips
- enricosonzogni
- Dec 17, 2025
- 3 min read
In this recipe, we'll show you a preparation that's not only inexpensive and highly rewarding, since we'll be using chicken quarters, but that will also allow you to practice and test your technical skills in preparing white meats.
INGREDIENTS
Chicken quarters (thigh and drumstick)
Fresh bacon (sliced)
For the icing:
Rice vinegar - 1 pt
Liquid sugar - 1pt
Pimenton della vera - 1 teaspoon
PREPARATION
The thigh and drumstick are classic chicken cuts that are easy to find and very often cooked in the traditional way, grilled or braised.
In this recipe, we want to give a little extra sparkle to this cut of white meat and transform it into something more appetizing and spectacular: we'll make "chicken poppies."
Let's start with a certainly technical but necessary part: boning.

Using a sharp knife and working with the tip, start from the back, sliding under the spine to the hip, and remove it. To reveal the thigh bone, simply make a clean cut along the entire length of the thigh. Avoid piercing the skin because we'll need it whole for this recipe.
With patience and precision, you will be able to obtain a complete boning, leaving the back, hip, and both thigh bones intact with all the joints.

If we have done things correctly, we will end up with the thigh and drumstick in one piece, with the skin still attached.
The carcasses can be reused to make broth, but not before placing them on the barbecue to brown.
We continue the preparation by gently tapping the chicken with a meat tenderizer; it will only be necessary to tenderize it evenly.
A second technical step is definitely the tying. As mentioned at the beginning, we want to create chicken poppies, so we need to play with the shapes.
For the seasoning and then the tying, we need fresh sliced pancetta, preferably lean, string and the "Rub White" mix of herbs, which you can make yourself by following the recipe on our calculator .
All we need to do is evenly season all the meat inside the skin with the rub and bring the flaps of the boneless chicken towards the center, trying to form a ball.

At this point, we turn the balled meat onto the cutting board, leaving the skin facing upwards, and try to tuck the ends towards the bottom, as if we were working with dough, from top to bottom.

Take a slice of bacon and wrap it around the base of the ball, to help keep the chicken tied together.

Let's begin the tying. Take two ends of the string and, bringing them underneath our chicken roll, pass them around vertically from bottom to top. This creates an intersection at the top, from which another loop of string will begin, running from top to bottom, but this time perpendicular to the first loop.

Continue with additional twists of string, as if you were slicing your chicken parcel into even slices. With each twist, you'll need to tighten the string a little to ensure it's properly tied and leave a mark.
Once tied symmetrically, we make one last turn and finish with a simple knot, cutting the excess string with scissors.

If necessary, we move the strings to create more symmetry between the ties.
We don't put spices or salt on the outside surface, because we'll take care of that during cooking.
We preheated the barbecue and set it up for indirect cooking: this means there must be a deflector between the charcoal and the cooking grate, which prevents the flame from hitting the food directly.
To collect the fat and avoid making a mess, place an aluminum tray on the deflector, just below the chicken breasts.

We leave them to cook until the core reaches 65°C - 70°C. Using a probe thermometer, we'll need to measure the temperature at several points to ensure they're cooked through.
The temperature of the BBQ must be stabilized around 180°C by adjusting the air inlet and outlet vents.
Before cooking is finished, we add color and flavor by glazing the chicken patties.
For the glaze, we'll use pimenton de la vera, which is a cooked and smoked pepper.
To make the glaze, combine one part rice vinegar, one part liquid sugar, and a teaspoon of pimenton.
Brush the glaze onto the chicken in several batches and, leaving the chicken cooking, let it dry before spreading more glaze.
If the core temperature is right and we've brushed it enough, we'll end up with an excellent result, which will surely leave all your guests surprised, intrigued, and obviously with their mouths watering.